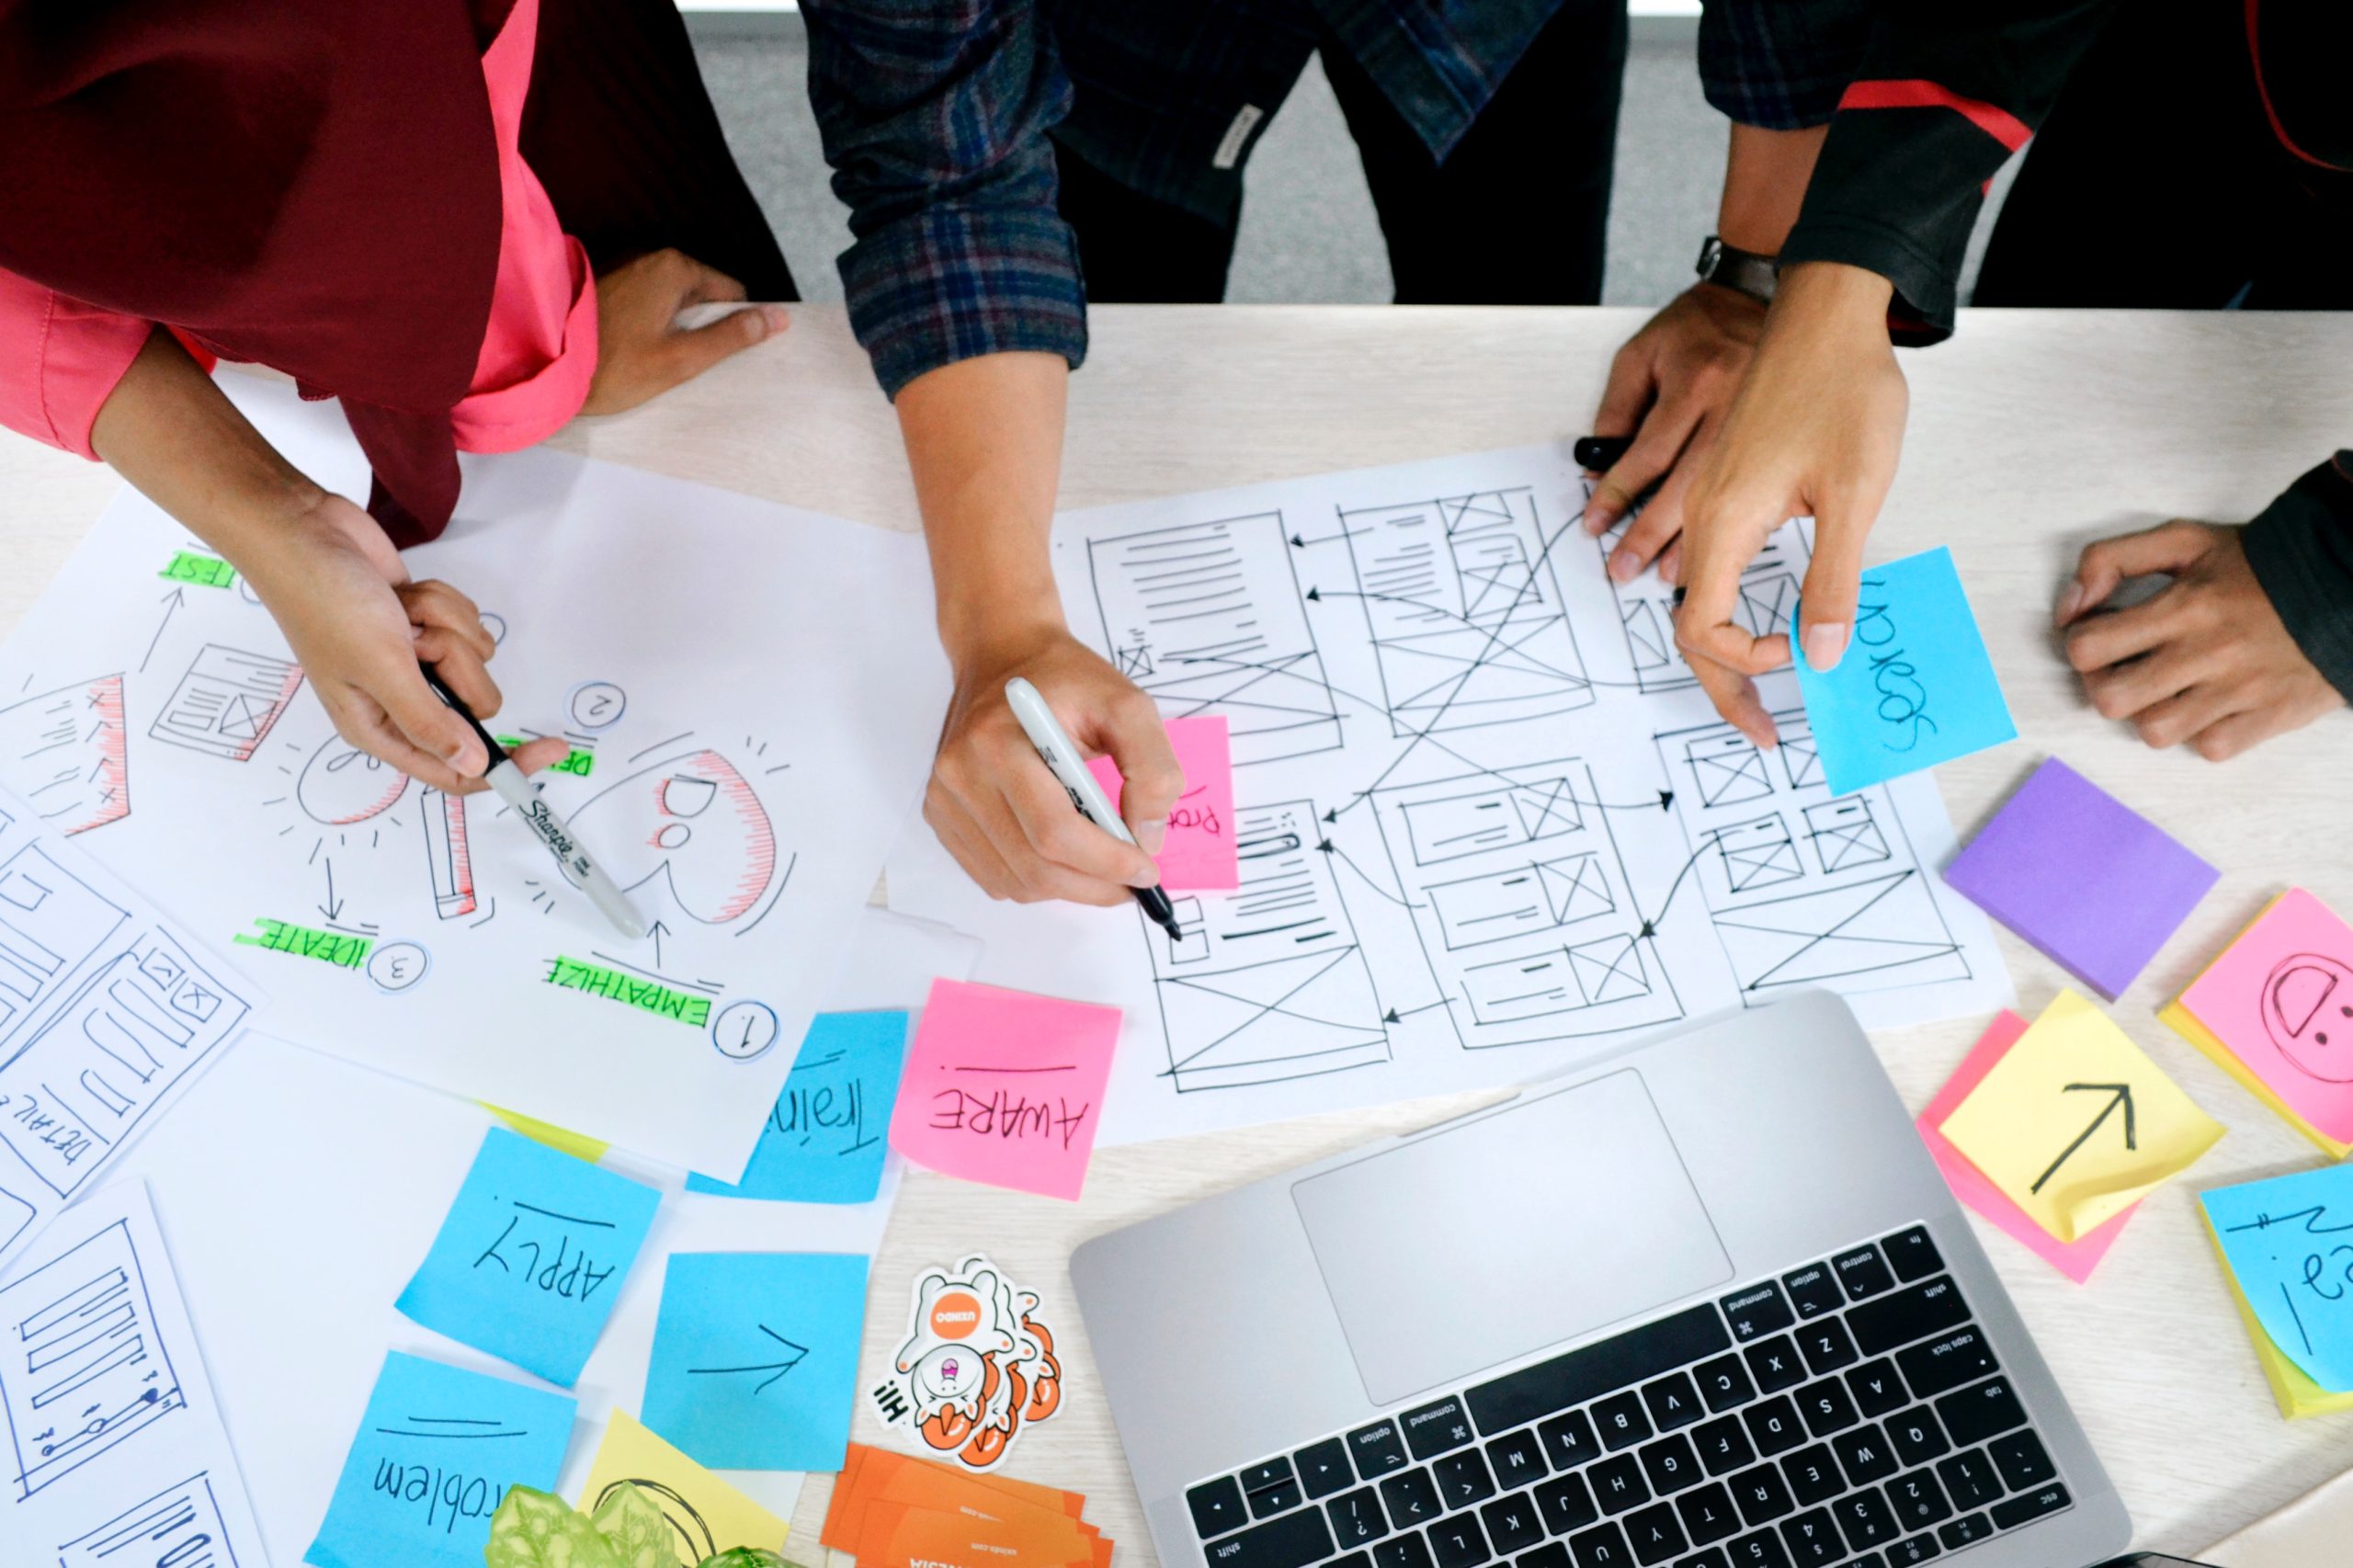
As a designer, when you finish a block of work a UX retrospective is a great thing to do. It’s all about learning from your experience and getting feedback from the rest of your team about what went well and what didn’t go so well.
A successful retrospective fosters an open and safe environment where team members feel comfortable sharing their perspectives and contributing to actionable insights.
When done well this activity combines a presentation with a workshop. First you want to tell a story (context) and then gather feedback (using Design Thinking). Review what happened both good and bad. You need to be really honest when doing a UX retrospective.
Here’s a breakdown of what makes a UX Retrospective effective:
1. Clear Goal and Purpose:
- Establish a clear goal. Why do you want to do a UX retro? Examples are to improve team collaboration, enhance user experience, and/or define and refining design processes.
- Focus the discussion on objective details to set benchmarks for the exercise.
2. Open and Honest Communication:
- You should create a safe and inclusive environment where everyone feels comfortable sharing their thoughts and experiences.
- You should encourage open dialogue and avoid personal attacks or blame. It’s about experiences and learning. Be professional!
- You then facilitate active listening and ensure that all voices are heard. Take notes on what is said, and create action items as follow up.
3. Structured Discussion:
- You can use a structured format to guide the discussion, such as the “What Went Well?” “What Didn’t Go Well?” and “What Did We Learn?” format. These are also known as the Three Ws.
- Alternatively, consider using techniques like the “4Ls” (Loved, Loathed, Longed for, Learned) or the “Stop, Start, Continue” method.
- These structures help to organise the discussion and ensure that multiple aspects of the project are considered.
4. Focus on Improvement:
- Your main goal is to identify areas for improvement and develop actionable steps to address them. Without these the UX retrospective is not very helpful.
- You then prioritise findings based on their impact and ease of implementation. If the finding is valuable and easy to do then you do it as soon as possible.
- You must define clear steps that can be taken to address the identified issues otherwise you lose the main benefit of a UX retro.
5. Actionable Insights:
- Next, you translate the insights from the UX retrospective into concrete actions.
- You ensure that these actions are documented and assigned to specific team members.
- On an ongoing basis you regularly revisit the action items to track progress and ensure that they are being implemented.
6. Cross-Functional Engagement:
- Involve all relevant team members, including UX designers, researchers, developers, product owners, and product managers.
- This ensures that everyone has an opportunity to contribute their perspectives and that the lessons learned are widely shared and understood.
7. Facilitation and Documentation:
- A facilitator can guide the discussion, to ensure that all perspectives are heard, and keep the conversation focused.
- And finally, document the key findings and action items to create a record of the retrospective and facilitate future discussions.
You can do UX Respectives on a regular cadence so the format becomes familiar, and therefore the feedback becomes increasingly relevant and useful.
